Friday, December 30, 2011

New Year's Eve Tradition


Back in March, before I started using Pinterest, I saved to my Evernote notebook a post from the blog Eighteen25. They created this cute box to store a printout of the kid's interests/favorites/dreams every year (both of the following images are theirs).

This is a great idea to do on birthdays or the start of each new year.  
I really like the idea of a tracking the current interests of kids and even adults. Though I think the box is cute and a great idea for a many families, a digital file would work better for our family.


I'm constantly trying to purge our belongings so that we actually know where things are and remember that we have things! So, for us, we'll be using the printable below, scanning it back into the computer, and then including it in our photo books that I do through Shutterfly.  We have a big collection of Shutterfly books; I like how it keeps all of our memories accessible without the bulk.

Click the image for the full-sized printable JPG


For the adults, I recommend taking a look at the list that Simple Mom's Tsh came up with. The last page of her PDF is formatted so that you can print it out and cut out little cards. 

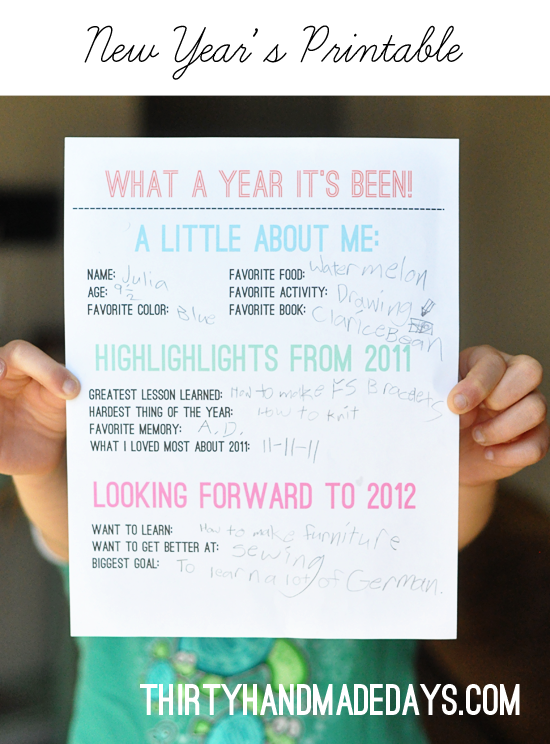
This morning, I noticed that 30 Handmade Days also did a New Year's printable. Go check hers out, too! The image below is hers.

Happy New Year!

Thursday, December 29, 2011

Top 10 Posts

It has been almost 7 months since I started blogging more regularly. Most of you probably didn't even notice that a few weeks ago, I dropped the ".blogspot.com" part of my blog name. You can now access this site by just going to wonderfuljoyahead.com. All former links (including blogspot links) will continue to work, but they'll automatically get rerouted to the correct one. If you want, you can update your bookmark for the new and improved address!

 It's been fun to share what's going on around our home, and it's nice to have some sort of outlet for creative and organizational endeavors. Since the new year is looming, I thought it'd be fun to look at the past few months' most popular posts. The first one wins by a landslide, doubling #2's stats!

You can click on the photo to take you to the original posts.

Sunday, December 18, 2011

Easy Lemon Curd Pastries with Sugared Cranberries


If you're in need of an easy yet festive dessert, these are a perfect option for you! The tart, sugared cranberries pair well with the sugary sweet lemon curd and flaky puff pastry. These are fuss-free; you can prepare parts of them days in advance and assemble hours before you need. It's also really nice to be able to make as few or as many as you'd like, and, best of all, they are three bite finger foods.

I feel a little like what's her name... Sandra Lee... coming up with ideas that combine homemade with store bought. There are things that I'm just not ready for, like making homemade puff pastry dough.

Right out of college, I lived on a modest salary in Chicago. For dinners, I survived on meals of Lean Cuisines or steamed frozen brussel sprouts (seriously). It wasn't until I moved to Madison and started cooking for John that I actually took an interest in making things that taste good.

One of my first cooking attempts was making homemade puff pastry for a tomato, basil, prosciutto tart. At the time, I was using a British cookbook (where ingredients were in grams) without a scale. I knew so little about what I was doing, and my weight to volume conversions yielded a dough that was an absolute mess. I don't even think "dough" is the right word for it.

I haven't tried to create my own puff pastry dough since then. I'm perfectly content with saving my sanity and opting for store bought dough, especially if it's Trader Joe's puff pastry. It's a seasonal item (so stock up now!), Trader Joe's puff pastry is made with... wait for it... wheat flour, butter, salt, water. You know, the same things I would have made it with. So now that I've done a free endorsement for Trader Joe's, let's continue on with this easy dessert!

The lemon curd is also store bought when World Market had a buy one get one free deal over the summer. I don't think that lemon curd is that hard to make, but opening a jar of lemon curd that has good ingredients is ok by me, too. I am, after all, trying to make this a quick dessert.

The only thing homemade here is sugaring the cranberries. It's SO easy! You need to think about it at least a day ahead for soaking purposes. You could even do it many days ahead and refrigerate them until you need them. They keep well without getting sticky, and if you have leftovers, they can be served with pumpkin bread pudding (like we're doing for Christmas breakfast), dark chocolate, over cereal or yogurt, or by themselves as a tart snack.


Easy Lemon Curd Pastries with Sugared Cranberries

Ingredients
1 1/2 - 2 cups of fresh cranberries, washed and picked over
2 cups sugar, divided
1 cup water
1 box of puff pastry, thawed (2 sheets)
1 egg plus a splash of water
flour for dusting the counter before rolling the dough
1 jar of lemon curd (I used Sticky Fingers Bakeries; one jar will yield 32-48 pastries, depending on how much you use)

Sugared Cranberries
These need to get started at least a day in advance so plan accordingly!

Make a simple syrup by combining 1 cup of sugar and water in a pot over medium heat. Stir occasionally, until the sugar has dissolved completely. Let it rest for about 10 minutes or until the syrup is warm but not hot.

Place the cranberries in a bowl. Pour the warm syrup over the cranberries, making sure to coat them well. If the syrup is too hot, it will cause the cranberries to burst. Cover and refrigerate 1-3 nights.

Drain the cranberries. In a small bowl, add a few spoonfuls of white sugar. Drop a few (10 or so) cranberries on top of the sugar and shake the bowl back and forth to coat. Don't worry if they have a few spots because you can go back later.

Carefully move the cranberries to a baking sheet to dry in a single layer. Repeat the process until you're out of cranberries, refreshing the sugar in your bowl every couple of batches (so that it doesn't get too gunky).  Allow to dry in a single layer for at least 2 hours at room temp.

After 2 hours, if you still have sticky parts or gaps without sugar, repeat the sugar in the bowl technique. Allow to fully dry for another hour or so. After they are dry, you can put them in a bowl and allow them to touch. They will not be sticky and will last for at least a week in the fridge.


Puff Pastry
Preheat your oven to 400 with the rack in the center of the oven.

Prepare your puff pastry by rolling the thawed pastry sheet out to about 1/8 inch on a lightly floured surface (doesn't have to be perfect). Cut out your desired shapes with cookie cutters, keeping in mind that a 3 bite size cutter is a good size to aim for. Alternatively, you could use a sharp knife and cut squares out.
Tips: 
Make sure to get your shapes as close together as possible because puff pastry isn't the type of dough that you can glob together and roll out a second time. Your scraps will either need to be made into personal bite sized nibbles or toss them.
The sharper the cookie cutter, the better for maximum puffiness.
If you have more dough than room on the cookie sheet, refrigerate the dough between batches. 
Line your dough shapes on a parchment lined (or silpat lined) cookie sheet, leaving at least 1/2 inch between each shape.

Optional (for browning and shine): In a small bowl, lightly beat one egg with a splash of water. Brush lightly over the cut dough.

Place in the oven and bake for about 17 minutes, or until fully puffed and browned. Don't peek by opening the oven; use the oven light instead! The puffing normally happens at the last minute.

Remove from oven and allow to come to room temp, either on the sheet or on a wire rack.

Assembling the Pastries

Use your finger to make a slight indention on the top of each puff pastry shape. Arrange the puff pastry on your serving platter (makes it easier to arrange now rather than trying to move them with the toppings).

Add a small dollop of lemon curd into the indention in each shape (about 1- 1 1/2 tsp) and then top with three sugared cranberries.

Enjoy!!

Saturday, December 17, 2011

Elf on the Shelf Idea Roundup

Like many of you, we have Elf on the Shelf. LE doesn't understand the concept this year, so for now, our unnamed elf sits on the same shelf every day.

Those of you who have been doing this every day this December probably got all of your good ideas done in the first week. And those of you who have done this for multiple years... I'm sure you are done thinking of new hiding spots and mischievous antics!

Well... you're in luck!

I did a little searching around, and here's a big roundup of ideas for you. It's amazing what people think of!

Elf on the Shelf Roundup


If your kids are past the age of elf magic, you could still join in the fun by making elf cookies, like Bridget at Bake at 350.


From Living Locurto,  you can download a PDF of 25 ideas. Those little donuts are made with Cheerios.


This Flickr pool has 510 photos uploaded from a variety of people. Loads of ideas! Here are three from the pool.
Run like the wind Bullseye!!!
the adventures of feagle day 15
Day 4


Full Plate Cooking Antics has 16 ideas listed, most are cooking related (if not all... I didn't go through them all).


Living Locurto gives the script and details on how to pretend that your elf "grew" gingerbread cookies from chocolate chip "seeds."


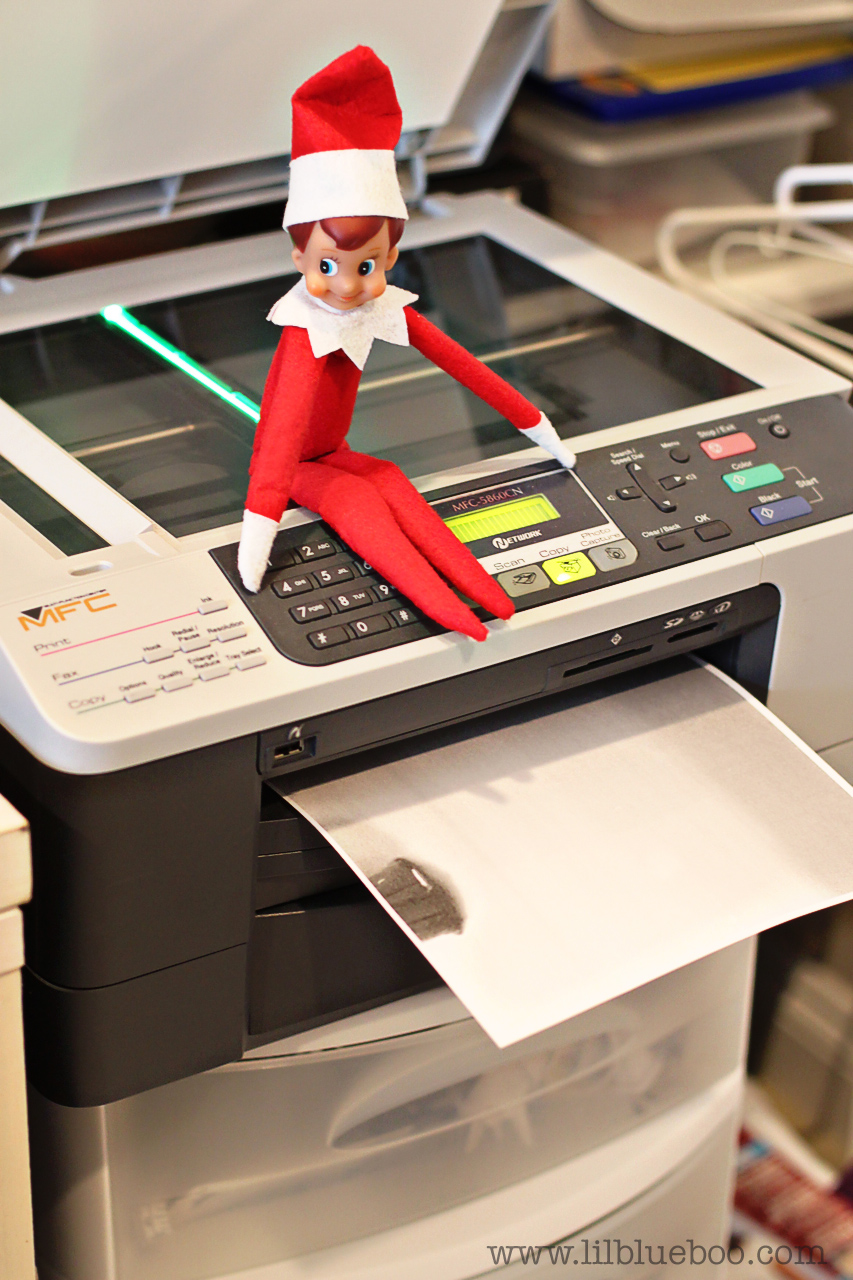
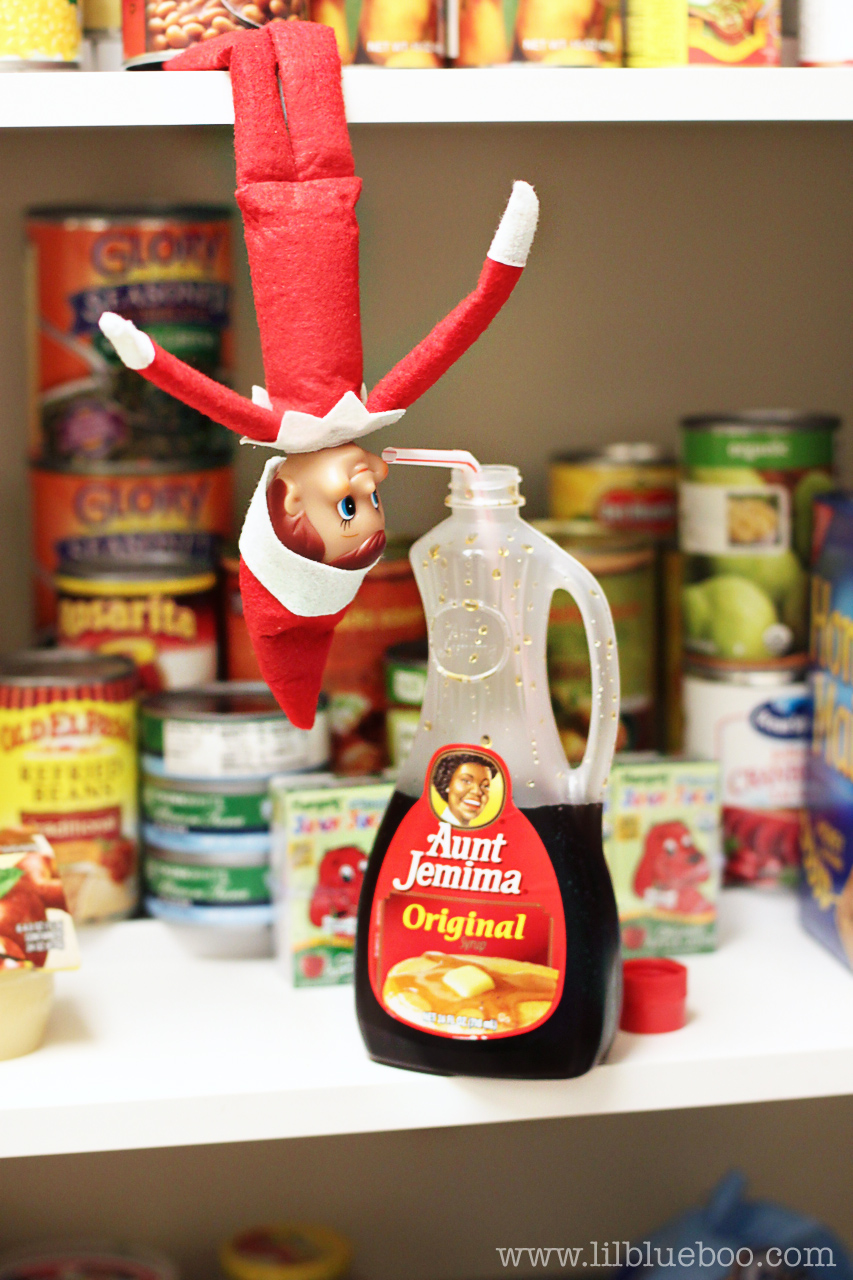
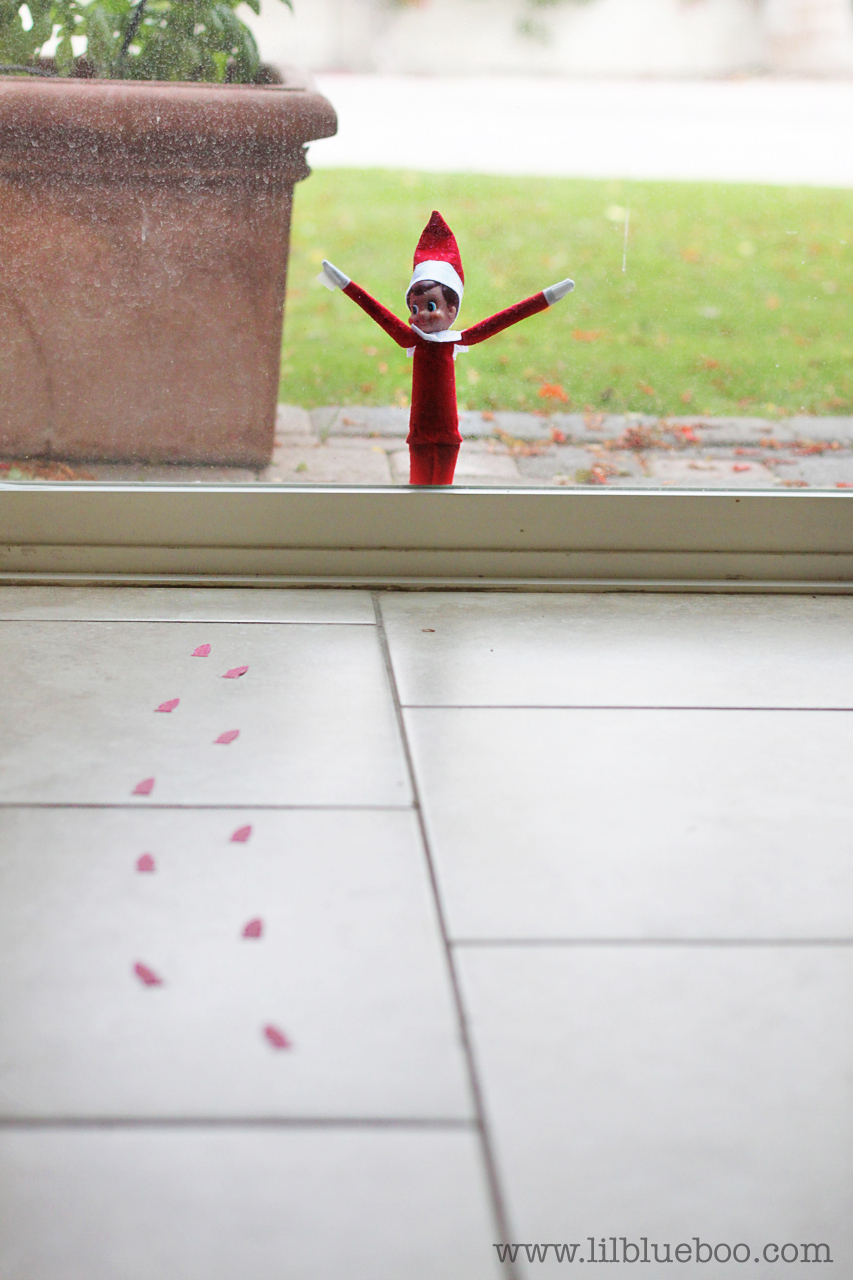
Lil Blue Boo's ideas are a lot of fun. 

My favorite is probably the one of her elf sipping syrup:

I like the idea of putting little elf tracks to help give the kids clues when it's an especially tough hiding spot:
Oh, and she has some rated PG-13 and "almost R-rated" part 1 and part 2


Another flickr pool has over 520 submissions! Of course, there are duplicate ideas, but at least you can see them in thumbnail form.
From an elf planking (not sure if a toddler will get it. Maybe a hip toddler.)
Elf On A Shelf

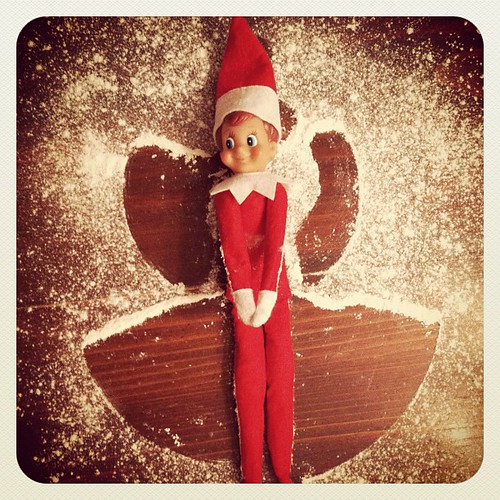
to classic elf angels
Flour makes the best snow angels according to Harold, besides real snow of course!

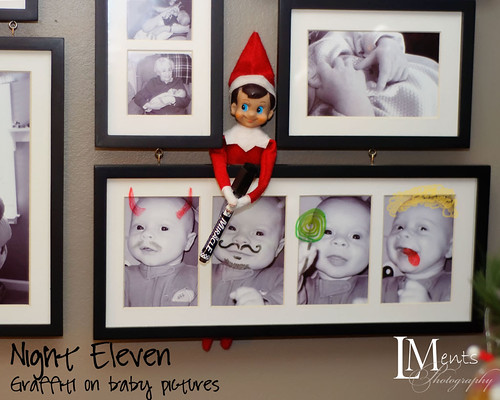
to graffiti on photos
18 - Graffiti
You'll find a big variety there.


Jen McKen photography documented their first few nights with their elf. I laughed when I saw their elf on the toilet. This one of the elf making s'mores is well done, too.


Of course, the Elf on the Shelf Facebook page has a bajillion photos linked up. This is one of the more original ones that I saw of elf rocking baby Jesus:


Ray of Light Photography has loads of great ideas that are really well photographed. My favorite is of their elf painting the noses of the kids while they were asleep. Then, when they woke up, they found the elf with a paintbrush.


Imagineate Photography (A step inside blog) turned her milk green. Gross.


Hot air balloon elf from Paint the Moon.net


Chubby Cheek Photography has shared only a few of her ideas. I like the idea of a marshmallow snowman.


Then, when December has come and gone, if you're really with it, you could put together a decorated box for your elf, like Ellie G from less cake {more frosting}, so that your little elf can rest for the year and then return in style.

Ok, I think that's all I've got for ya! Have you done anything special with your little elfie?

Thursday, December 15, 2011

Chocolate Ganache Filled Cupcakes with Vanilla Bean Buttercream Frosting


I made this recipe for the first time when my dad was in town in early August. That's when I fell in love. I made it for a friend's baby shower in August and then again for another baby shower just this week.  Hosting baby showers means that I get to pick out pretty little flowers to decorate with. Aren't these surprisingly pretty considering they are from the grocery store?


Ok, back to the real gem of this post: the cupcakes. I can't imagine another chocolate cupcake recipe tasting this chocolatey, dark, and rich. The cake itself is moist but stays together as you bite it; no one wants a cupcake that falls apart in your hand.

The frosting is a vanilla bean frosting that, if I'm completely honest with you, I could take or leave. In fact, next time, I'll probably opt to make the Billy Reece vanilla frosting recipe on Martha Stewart's site instead.  {Update: I have since made these cupcakes with a raspberry buttercream frosting topped with fresh raspberries, and they turned out great! The tartness cuts some of the richness of the inside. See image below, and I'll give the rough recipe to the frosting at a future point.)  The one pictured has a nice texture, but I can taste the butter more than I'd like. On the other hand, many people have asked me for this frosting recipe along with the cupcake recipe. Whatever you decide to do, opting for chocolate frosting would be entirely too rich. You need something to balance what's inside.

Oh, did I not mention the inside yet? There's a little surprise in there.


Yes, that is a dollop of ganache nestled nicely in the middle of that cupcake. No special equipment is needed, either. With the proper technique, it'll land perfectly in the center every time. The recipe will get into the details, but basically, you refrigerate the ganache to harden it up just the right amount. Drop some on top of the batter, and as they bake, it will fall into the center.


Then, when they come out, they look like this.

Recipe for the frosting to come... The runny ganache center is from a barely cooled cupcake.
It hardened as it fully cooled.
Let's stop messing around and get to the recipe! I promise, if you're going for sinfully moist and chocolatey cupcakes, this will be your go-to recipe.

Chocolate Ganache Cupcakes
From Cook's Illustrated

Yields 12-15 cupcakes

Ingredients
3 oz bittersweet chocolate, chopped fine (Ghirardelli 60% Cacao)
1/3 cup Dutch-processed cocoa (like Hershey's Special Dark)
3/4 cup hot, strong brewed coffee
3/4 cup (4 1/8 oz) bread flour
3/4 cup (5 1/4 oz) sugar
1/2 tsp salt
1/2 tsp baking soda
6 T Canola oil (1/4 cup + 2 T)
2 large eggs
2 tsp white vinegar
1 tsp vanilla extract

Ganache:
2 oz bittersweet chocolate, chopped fine (Ghirardelli 60% Cacao)
1/4 cup heavy whipping cream
1 T powdered sugar

Preheat the oven to 350 and line a muffin pan with cupcake liners.

In a large bowl, whisk until smooth the chocolate, cocoa, and hot coffee together.  Refrigerate until it's cool, about 20-30 minutes.

In a small bowl, combine the ganache ingredients (chocolate, cream, and powdered sugar). Microwave for 20 seconds. Whisk. If the chocolate still needs to melt, microwave for another 10 seconds. Whisk until smooth. Refrigerate for 20-30 minutes-- no more and no less! When you take it out, you're looking for a ganache that can be formed into a soft ball with a spoon. It's not fully solid (or it'll sink to the bottom of the cupcake) and it's not still runny, or it will just disperse within the cupcake. 


In a medium bowl, whisk the flour, sugar, salt, and baking soda. Set aside.

Retrieve the large bowl of chocolate/cocoa/coffee from the fridge. Add the eggs, oil, vinegar, and vanilla. Whisk to incorporate. Add all of the flour mixture, and whisk until smooth. The batter will be slightly runny, similar to brownie batter.

Divide the batter among the cupcake liners, filling 3/4 full. I use the large OXO portion scoop; 1 1/2 scoops per cupcake does the trick.

Next, top each cupcake in the center with a rounded teaspoon of ganache. I use half a scoop with the small OXO portion scoop.

Place on the center rack in the oven, and bake for 15-19 minutes, until the cupcakes are firm to the touch on top. A traditional toothpick test won't work here due to the ganache center.  Remove from the oven and let them sit in the pan for 10 minutes. Then, transfer to a wire rack to cool completely.

Easy Vanilla Bean Buttercream
America's Test Kitchen

Yields 3 cups (enough for about 24 cupcakes)

Ingredients
2 1/2 sticks unsalted butter, softened
Caviar from 1 vanilla bean (or substitute in 1 T Nielsen-Massey Vanilla Bean Paste)
2 1/2 cups (10 oz) powdered sugar
pinch salt
1 tsp vanilla extract
2 T heavy cream

Using an electric mixer, beat the butter at medium high speed until it's smooth. Add the caviar. Beat for about 20 seconds more until it's well incorporated. With the mixer on low, add the powdered sugar. Once the butter has coated the sugar, increase the speed to medium for about 30 seconds. Add the heavy cream and vanilla extract. Once combined (so that it doesn't fly out of the mixer), increase the speed to medium high and beat until light and fluffy, about 4 minutes.

If you desire to pipe your icing on, I used a 1M star tip. Start with the tip in the center and pipe a spiral to the outside. Step back and admire what you just created!